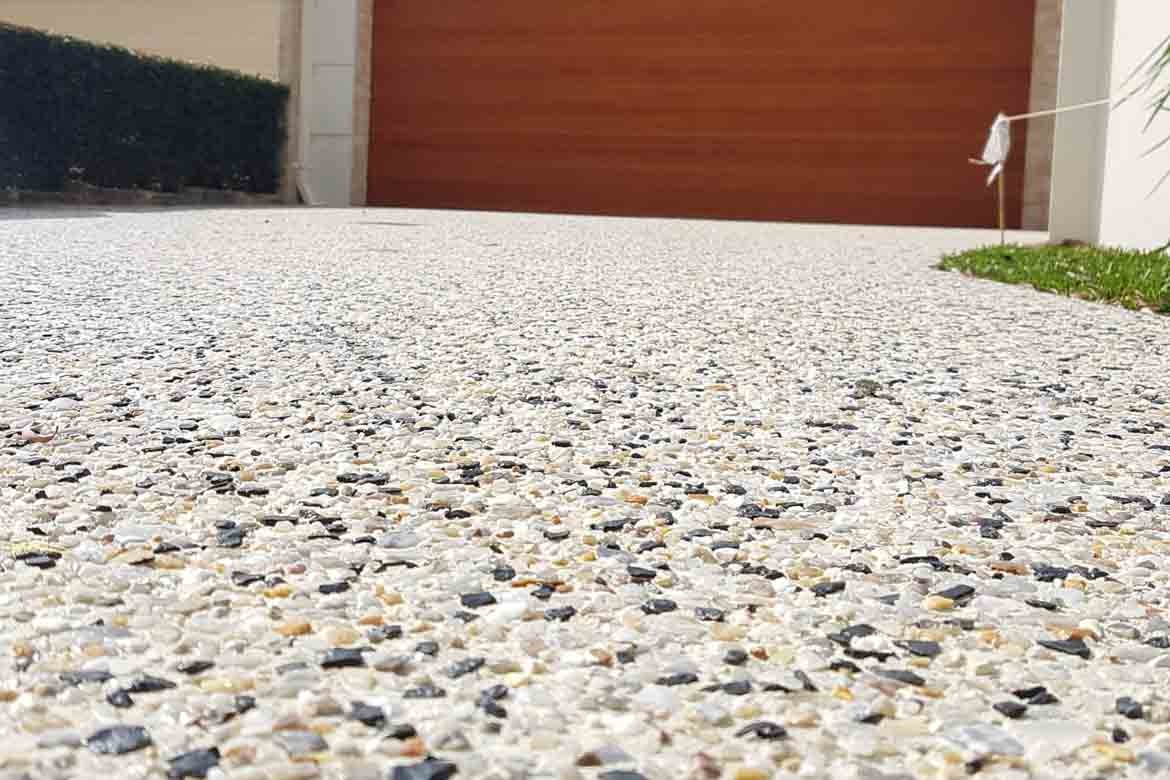
Exposed aggregate is a type of concrete that has had the top layer of cement removed to expose the aggregate beneath. The exposed aggregate can be composed of stones, gravel, or other materials and can be used to create a unique and attractive finish on a concrete surface.
People choose exposed aggregate for a variety of reasons. Its unique, natural look is attractive and gives a space an interesting texture. The smooth finish has low-maintenance concrete property, making it an ideal choice for busy households. Additionally, exposed aggregate is a great choice for areas with heavy foot traffic, as it is extremely durable and can stand up to wear and tear. With its variety of colours and textures, exposed aggregate is also a great choice for making a statement or adding character to a space.
Gladstone Concreters is a local concreting company that specialises in exposed aggregate installation. With years of experience, the team at Gladstone Concreters has the knowledge and expertise to ensure that your exposed aggregate is properly placed and finished.
Tips for Properly Placing and Finishing Exposed Aggregate
Preparation Before Placement
Before you begin installing exposed aggregate, it’s important to properly prepare the area. lean the surface to remove existing sealers, dirt, and debris. Remove any coatings, oils, or grease and fill any existing cracks with concrete patching material for a smooth surface.
Choosing the Right Aggregate
Consider the size of the aggregate, the colour, and the type of stone or material. The size of the aggregate should be appropriate for the area you are working with. The colour of the aggregate should blend with the surrounding environment and should be chosen to complement the existing landscape. Lastly, consider the type of stone or material you are using and make sure it is suitable for your project.
Mixing the Concrete
Once you’ve chosen the right aggregate, it’s time to mix the concrete. Start by combining the dry ingredients of the concrete mix, such as cement, sand, and gravel. Then add water until the mixture reaches a workable consistency. Once the concrete is mixed, it should be poured into the area and spread evenly. Allow the concrete to cure for several days before beginning the finishing process.
Placement and Compaction
Once the concrete has been mixed, it’s time to place and compact it. Start by placing the concrete on the surface and spreading it evenly. Use a screed board to level the surface and remove any excess material. Once level, use a compactor to compact the concrete. This will ensure a strong, even base for the aggregate to be installed on.
Finishing Techniques
After the concrete has been placed and compacted, it’s time to finish the surface. Start by spraying the surface with a hose to remove any excess material. Then use a brush or broom to spread the aggregate evenly across the surface. For a more polished look, use a trowel to smooth out the surface. Finally, seal the exposed aggregate to protect it from weathering and staining.
Sealing and Curing
The final step in the exposed aggregate installation process is sealing and curing. This step is key to ensuring that the exposed aggregate is properly protected and preserved. Start by applying a sealer to the surface of the aggregate. This will protect it from weathering and staining. Allow the sealer to dry completely before applying a curing compound. This will help the surface retain its strength and durability. Finally, allow the surface to cure for several days before using it.
Installing exposed aggregate improperly can lead to a range of issues, from uneven surfaces to premature cracking and deterioration. If you don’t have the experience and knowledge needed to properly install exposed aggregate, it’s best to hire an experienced concrete contractor, like our team at Gladstone Concreters. Contact us today for a free estimate!